


this tutorial is based on the When Pigs Fly's one...
First you have to print the kokeshi's leaves...


the easiest models...


the more complicated ones because of the hair dresses
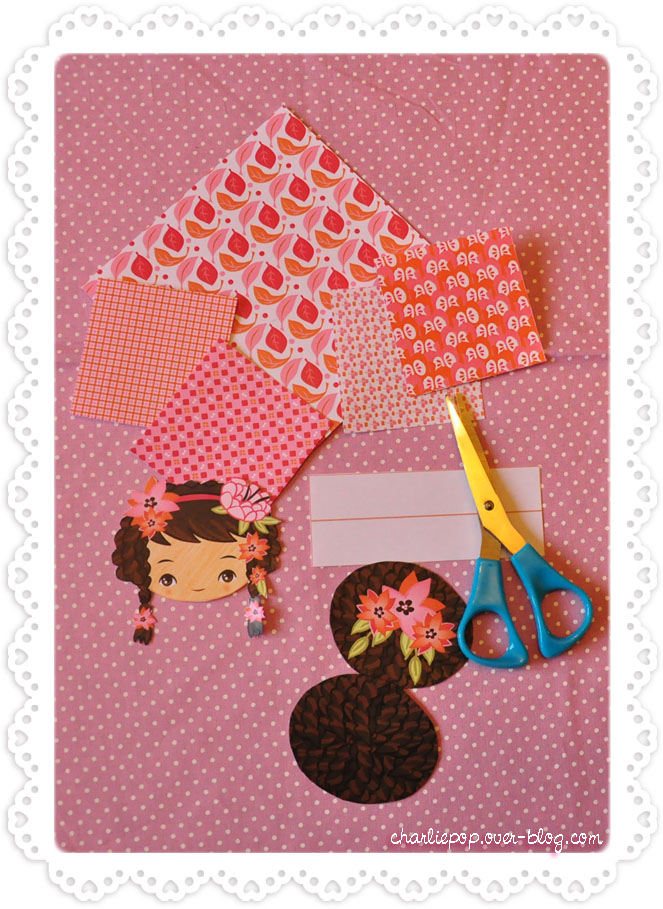
Cut the 4 little squares, the big one, tthe head, the hair and the rectangle...
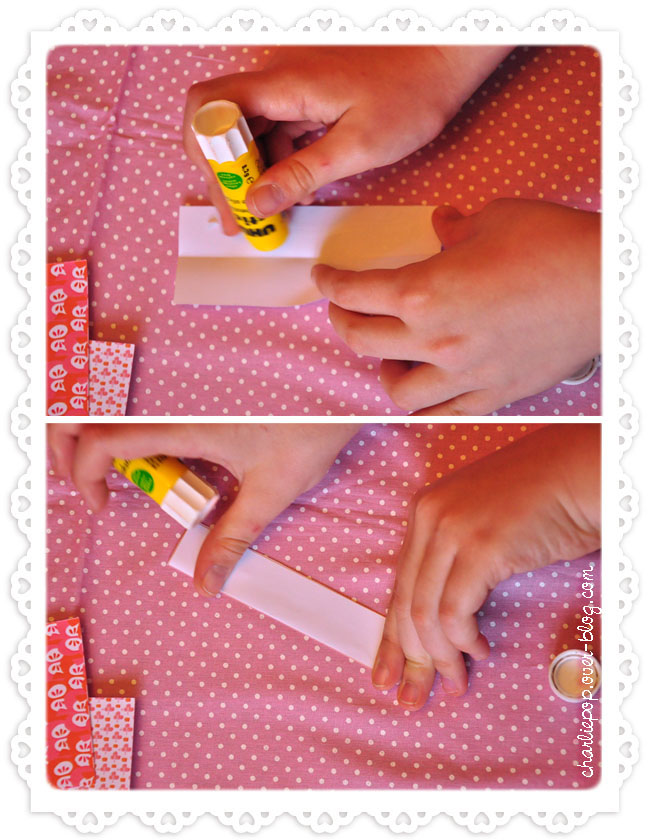
Fold in half the rectangle et glue it to make it thicker and solid.

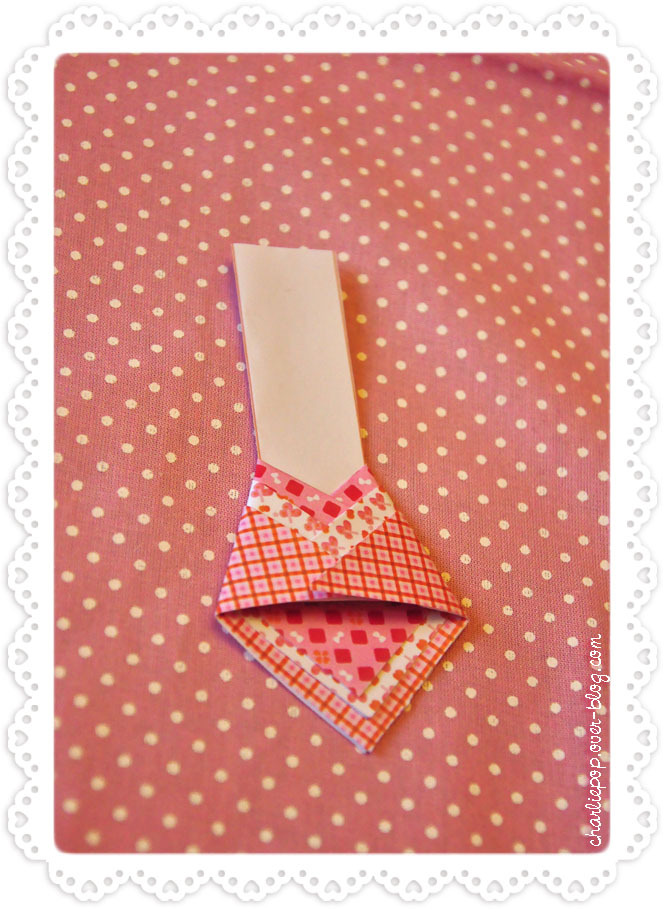
Plier en triangles trois des petits carrés.
Choisir l'ordre dans lequel on désire les voi
Fold in half three of the little squares.
Choose the order of the under-kimonos.
Turn over the pile of little squares and put a glue line.

That's the place to put the rectangle, it's gonna be the ' neck'.

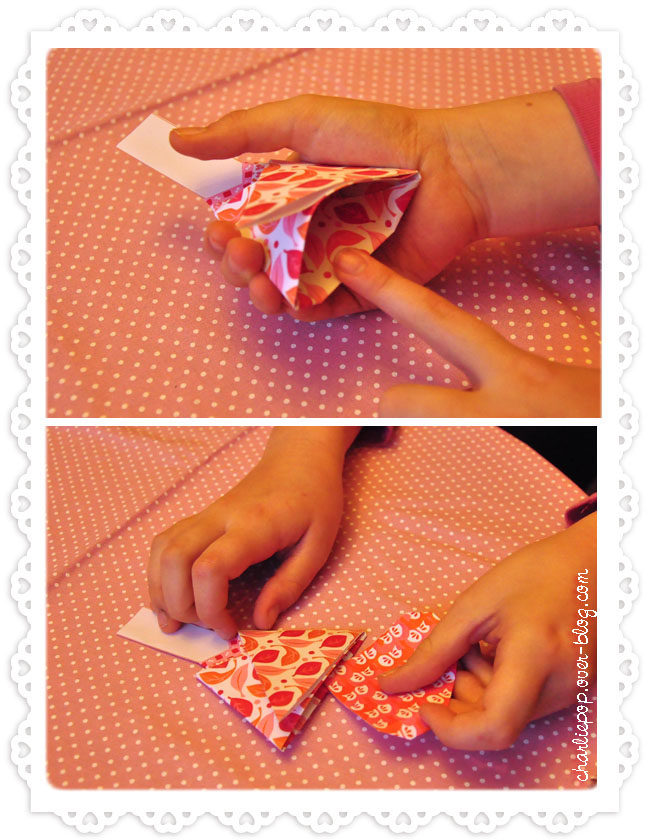
Commencer le pliage des sous-kimonos en rabattant côté droit sur côté gauche,
car l'inverse est la manière de plier son kimono pour un enterrement
Start to fold each under-kimono.
Fold the left piece of paper across the neck.
Then do the same with the right side...
Repeat with all the layers.
I put a little glue spot to be sure under-kimonos won't move.

Now fold the big square to do the kimono over the under-kimonos.
You should ajust it to feet well.
Secure it with glue.

The last little square is going to be the bottom of the kimono.
Follow the folding like the pics above.
Now you can slide it inside the kimonos.
Secure it with a little drop of glue.

Fold the hair and glue it.

Fixer You have to fix the head in center of the neck.

Glue the hair just behind the head and center it so little hair can be seen behind the neck...
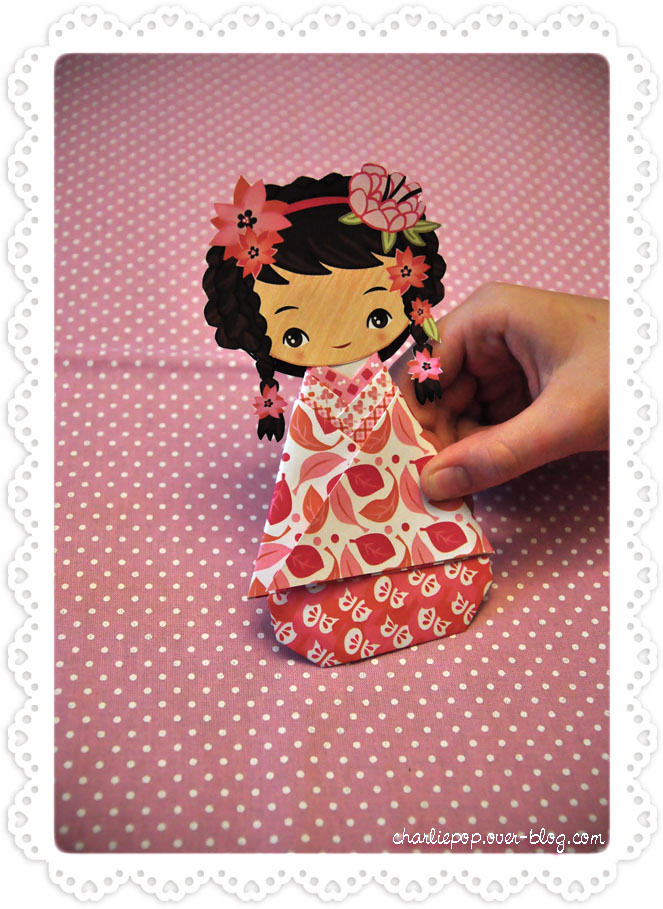
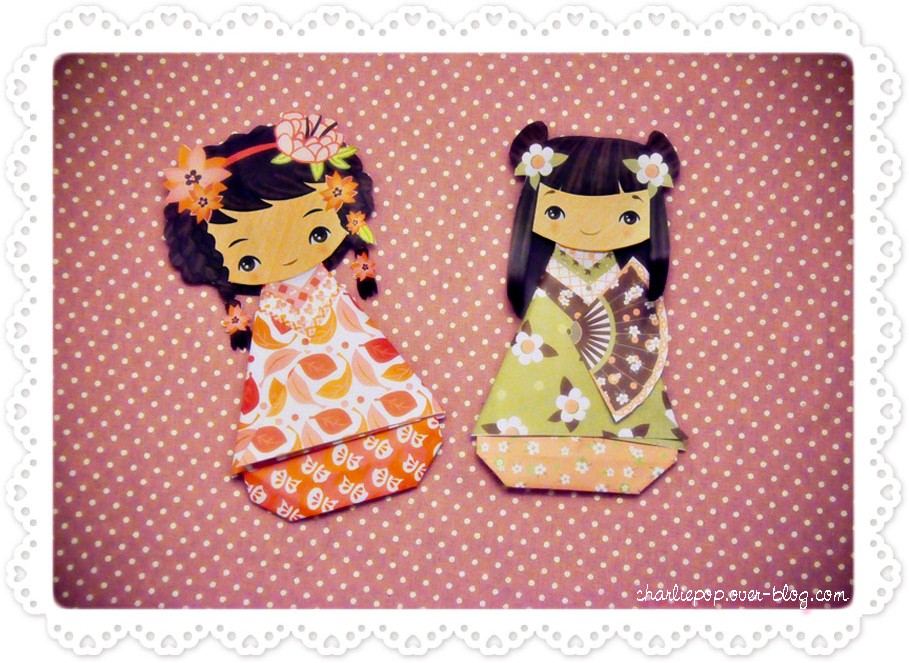
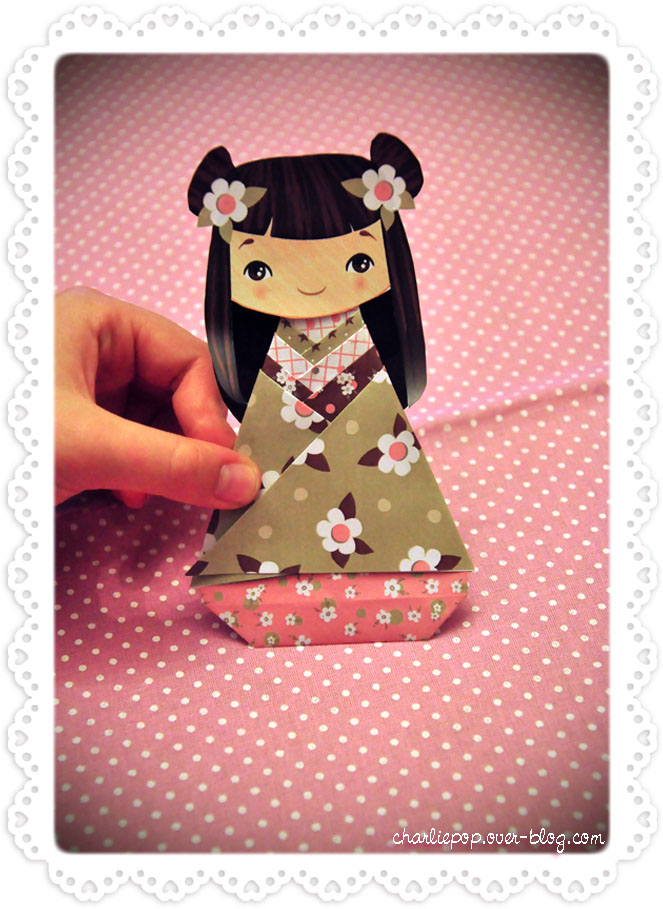
Et voilà !
A little paper doll kokeshi is done and smiling.
You can fold a little paper samouraï, there...
kokeshi kimono doll paper doll papier origami folding pliage kimono doll hinamatsuri


